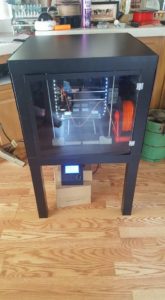
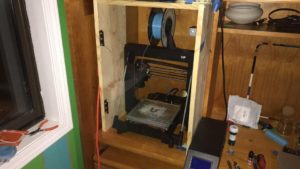
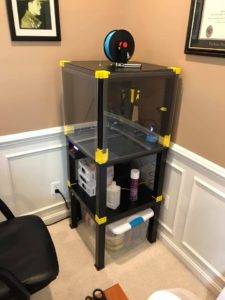
The Monoprice Maker Select V2, a rebranded Wanhao Duplicator i3, is an excellent 3D printer for the price. With the right settings and a few mods it will produce some extremely nice prints with PLA and on par with the more expensive and advanced printers out there on the market. But as every amateur printer comes to find out, upgrading from PLA to the trophy ABS requires a little bit more preparation. Printing ABS calls for two things: a heated bed, and a enclosure to trap heat and prevent uneven cooling. I’m going to show you how I made my enclosure and the parts I ended up buying to do it.
Note: This will not work for the Monoprice Maker Select Plus model. The table used for this setup only gives a half-inch gap from the top of the printer. Anything taller will not fit!
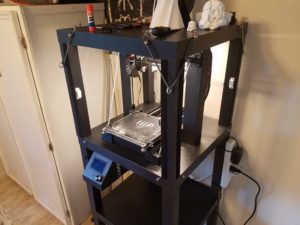
Main parts:
- DHP Parsons Modern End Table, Black Wood Grain – I ended up buying three of these and stacking them. It puts the printer about chest high.
- 16×18 UV Protected Plexi Glass – 0.090” – I bought 4 – one for each side. It’s durable, clear, and easy to drill through (With the right drill bit).
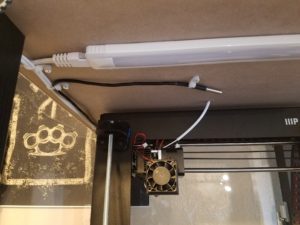
- EShine 12 inch LED Under Cabinet Lighting Panel – I recommend some sort of under cabinet lighting. The table casts shadows on the print, so I bought two strips of LEDs and mounting them under the top table on each side of the printer tower.
Other things I ended up getting:
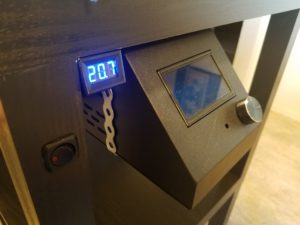
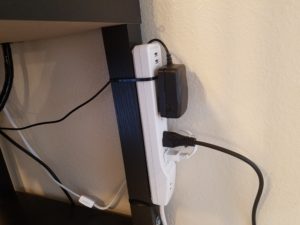
- DROK Micro LED Digital Temperature Meter Gauge – This tells me the temperature inside the enclosure. You’ll have to wire it up yourselves. I spliced the wires from this 9v wall charger for power and added in this toggle switch to turn the gauge on and off without messing with the power to the printer itself.
- Box of 10- 15lb Single Magnetic Catch White/zinc Retail Pack. Shutter Hardware – I would use 3-4 of these magnets per plexi glass panel. Anything less and it won’t hold and anything more and the panel will be too hard to remove.
- Bosch GT2000 Glass and Tile Set, 4-Piece – I snagged these up after I cracked one of my plexi glass sheets trying to drill through it with a normal bit…
- VELCRO Brand – Industrial Strength Low Profile – 10′ x 1″ Tape – Black – Because the plexi glass is slightly larger than the table, there is a small gap to seal between the two. The soft side of these Velcro strips worked perfectly.
You’ll need to print this:
- Control Box Hanger Bracket by GORILLA_PARTS – The control box cables are pretty short, so that means the only realistic place to mount it is under the middle table. I used some thick wire bands to hold up the control box, but I highly recommend printing 2-3 of these to secure yours.
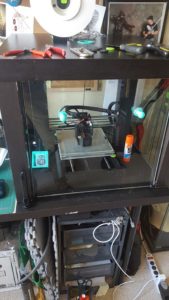
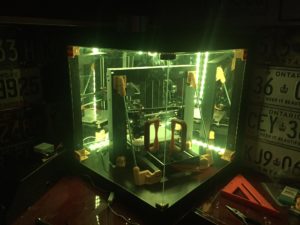
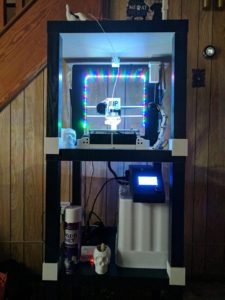
These items should give you a great head start on your own enclosure project! Here’s some more custom enclosures that I’ve come across:
